In this article, You will be able to create a AI driven chatbot in the simplest way. Chatbots are being included in almost every websites and apps to answer user’s query, file complaint etc. Chatbots are added to simulate conversation in the human format.
Rasa is a Level-3 conversational AI open-source framework which is one of the fastest ways to create chatbots among developers and non-developers. Due to its simple approach to train model, Many non-developers have also been using rasa to train their AI model for their chatbot.
Let’s Start
We would need the following items in order to get started
- Python 3.6+, You can follow this article to install python in your system Getting Started with Python
- Code Editor of your choice
- Python environment, You can create an python environment following this article Create Python Environment
That’s it, Now open the code editor and let’s create your very own first chatbot
- Create a folder with a name of your choice and open the folder in the code editor.
- Activate the python environment you just created
- Install rasa library with the following command in your terminal
(rasa2) G:\rasa projects\Rasa First> pip install rasa - If installed properly, let’s setup the project with the following command
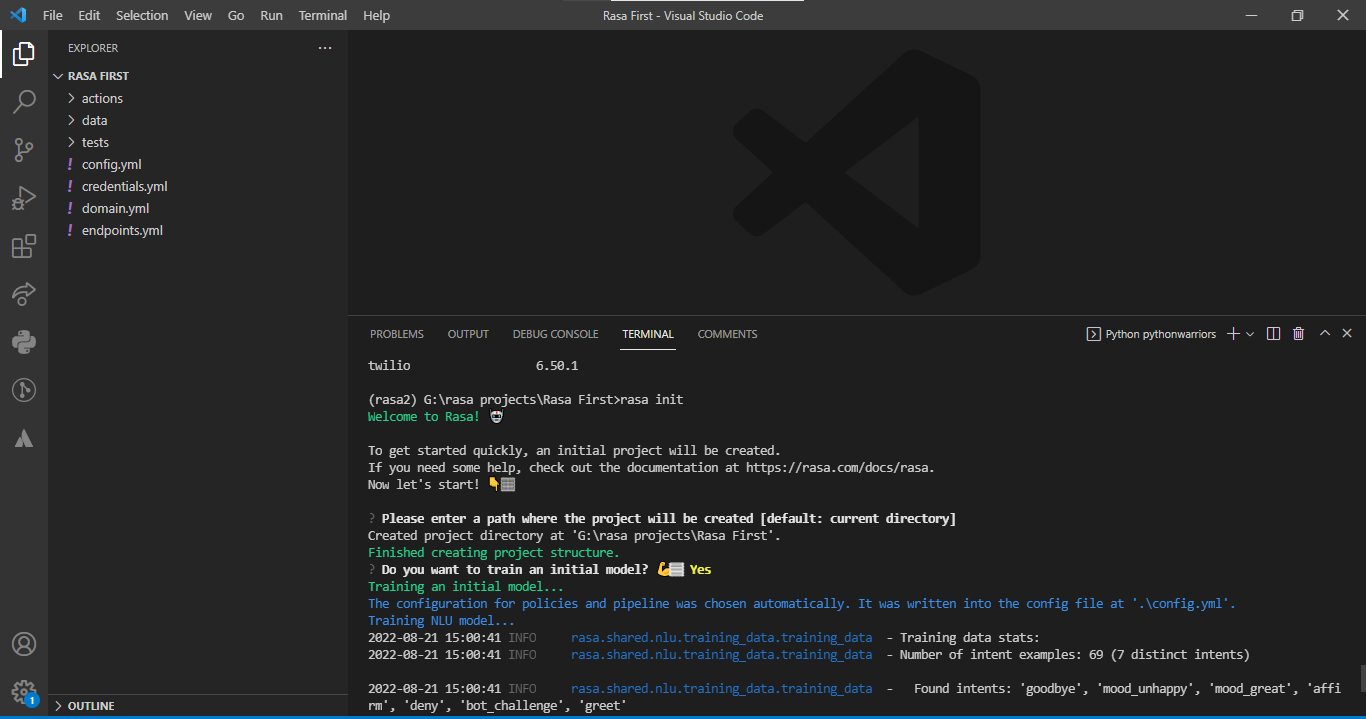
(rasa2) G:\rasa projects\Rasa First> rasa init
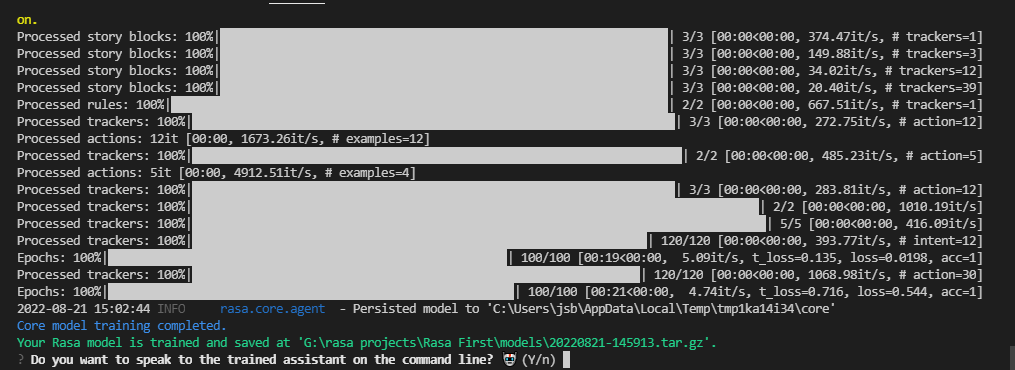
It’ll ask for selecting a directory, Just hit enter. Then it’ll ask you whether you want to train a model or not, type ‘Y’. If everything goes correctly you will be able to see a similar screen.

- After training the model, you will be asked whether you want to talk to the trained bot, select ‘Y’ .

- Do not worry if you by any chance pressed ‘n’ in that step, type
rasa shellin you terminal and you will be good to go for the next step. The next screen would look like this.

- Type ‘hi’ and you will see the bot response which it processed on its own without your help. This is a very basic trained bot which only knows how to perform basic conversation.
Pat on your back because you have trained your very own chatbot model. For improving your bot further so that it can handle more complex conversation we would need to understand the functionality of each file that got created when we initialized the project. I will try to explain each folder/file in the simple way for you to understand quickly.
- actions: It contains an
actions.pyfile, which will handle all third party operations and also perform validations on slots. For example, if you are creating a weather bot then it will need to connect with the weather API to fetch weather details. - data: It contains 3 files in it
- nlu.yml – This file contains NLU training data, which is used to train new intents so that our model gets the ability to understand more complex user queries.
- stories.yml – This file contains the flows which the model will take to perform conversation
- rules.yml – It contains rules which will be followed no matter what. If a rule is defined for a particular intent, then it will perform the rules defined for it and then only perform the conversations from stories.
- models: Contains all the trained models if no path is given when you are training new rasa model.
- test: If you want to test your data (nlu,stories), then you can do that from here.
- config.yml: By deafult, the entire file is commented as this file contains the ML algorithms which are used to train our rasa model. Unless you have understanding of ML alogorithms. I suggest you let it be as it is.
- credentials.yml: Contains credentials for the voice and chat platforms that you will integrate with the model ( social platforms such as Telegram, WhatsApp, Facebook etc)
- domain.yml: It’s the entire universe for your rasa model as every response that your model is providing back to you is placed under this file. This file works as a wikipedia for your bot. For every query to the bot, response will be taken from this file only. It stores
- responses
- function names defined in
actions.py - slots which are free textbox used to take user input such as personal details
- All the intents name are added in the file
- endpoints.yml: Contains all the endpoints such as for storing all the chats to a different database such as MongoDB, REDIS and also contains endpoint to your action server which is basically your action file.
That’s it folks, You have successfully trained your rasa model and also were able to have a conversation with it. In next article, I will show you how to improve your rasa chatbot further and connect with social channels as well.
You can clone the code from my Github repo Rasa for beginner, Model is not present inside the project. You would have to train the model. Also you can check Rasa’s office website


